Appearance
Deployment
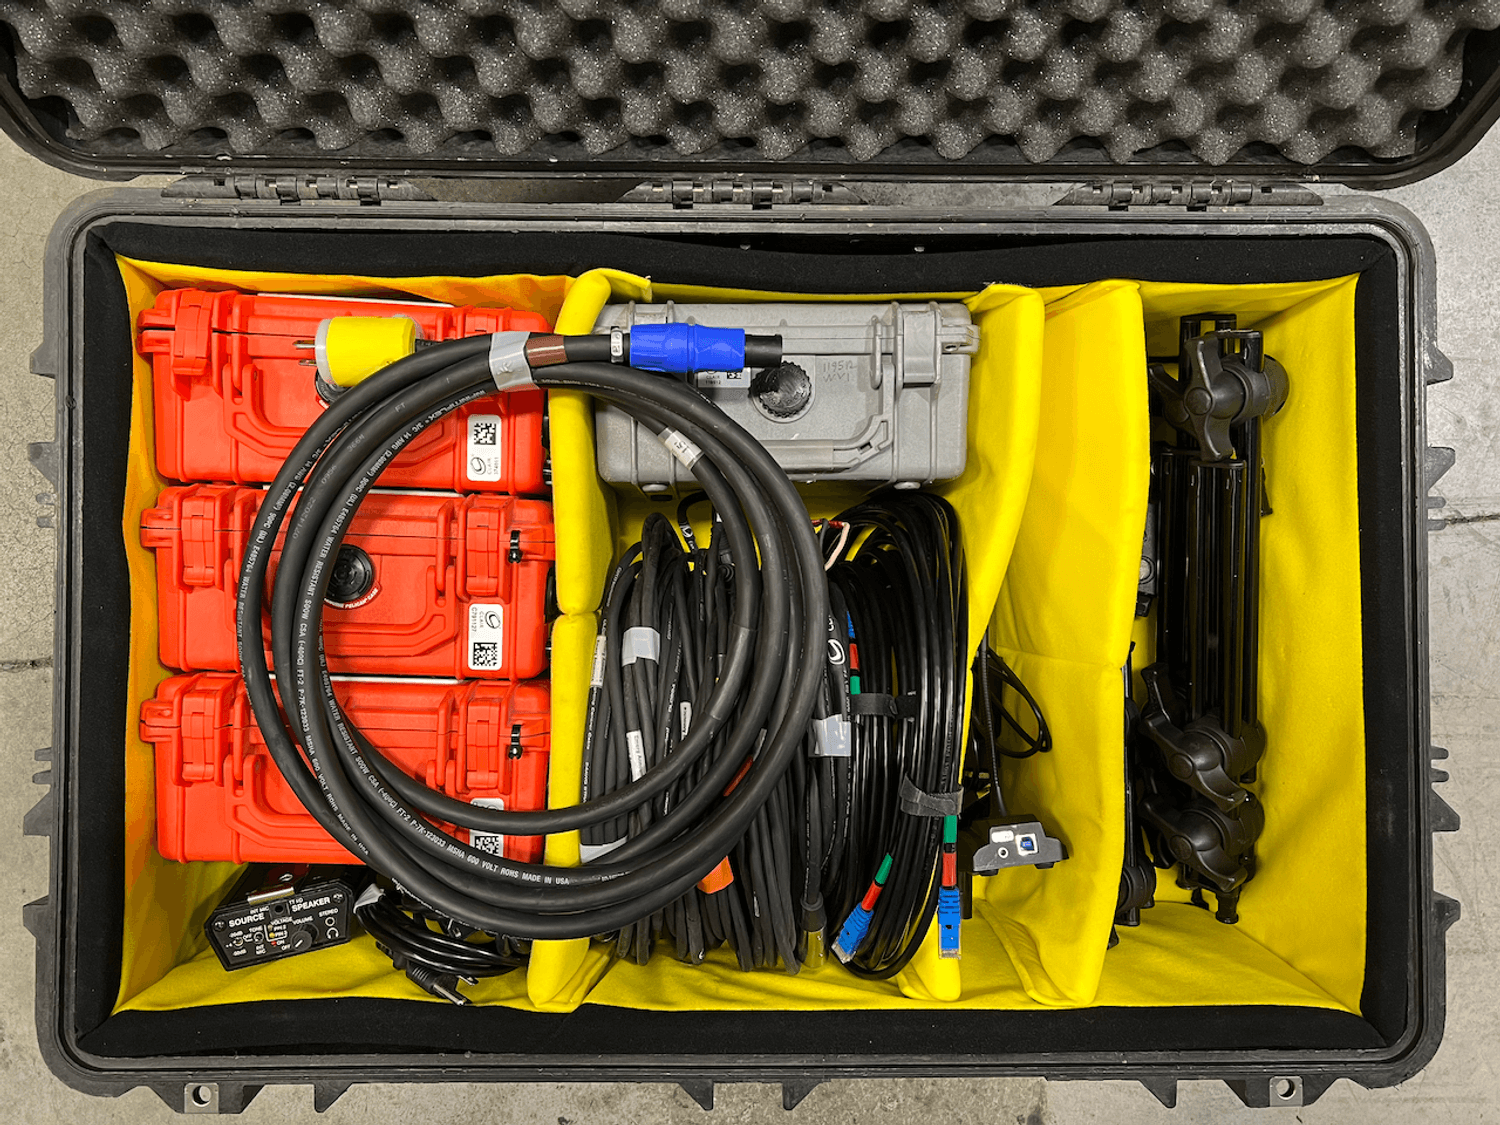
Command Unit
The Command Unit should be located in a secure area where it can be accessed by event safety personnel.
Along with the Command Unit, you will need a few items from the EAS Workbox.
- 10' powerCON cable
- USB Microphone
- USB Cable
To setup the Command Unit:
- Remove the top and sides from the Command Unit.
- Verify that cables are properly seated. Contents may have shifted during shipment.
- Connect the Command Unit to the network.
- Connect the Command Unit to power.
- Open and turn on the laptop.
Zone and Box Setup
Set the name of the command unit. This will be used to reference the unit during activations. Login to the EAS controller with credentials provided with the EAS kit.
Zones are used to group trigger boxes together. Create a Zone for each stage.
Assign boxes to each stage. Boxes can be renamed as needed.
Trigger Box
 For most deployments, the EAS Trigger Box should be installed at FOH. It is important that FOH and System Engineers have a clear view of the EAS Light.
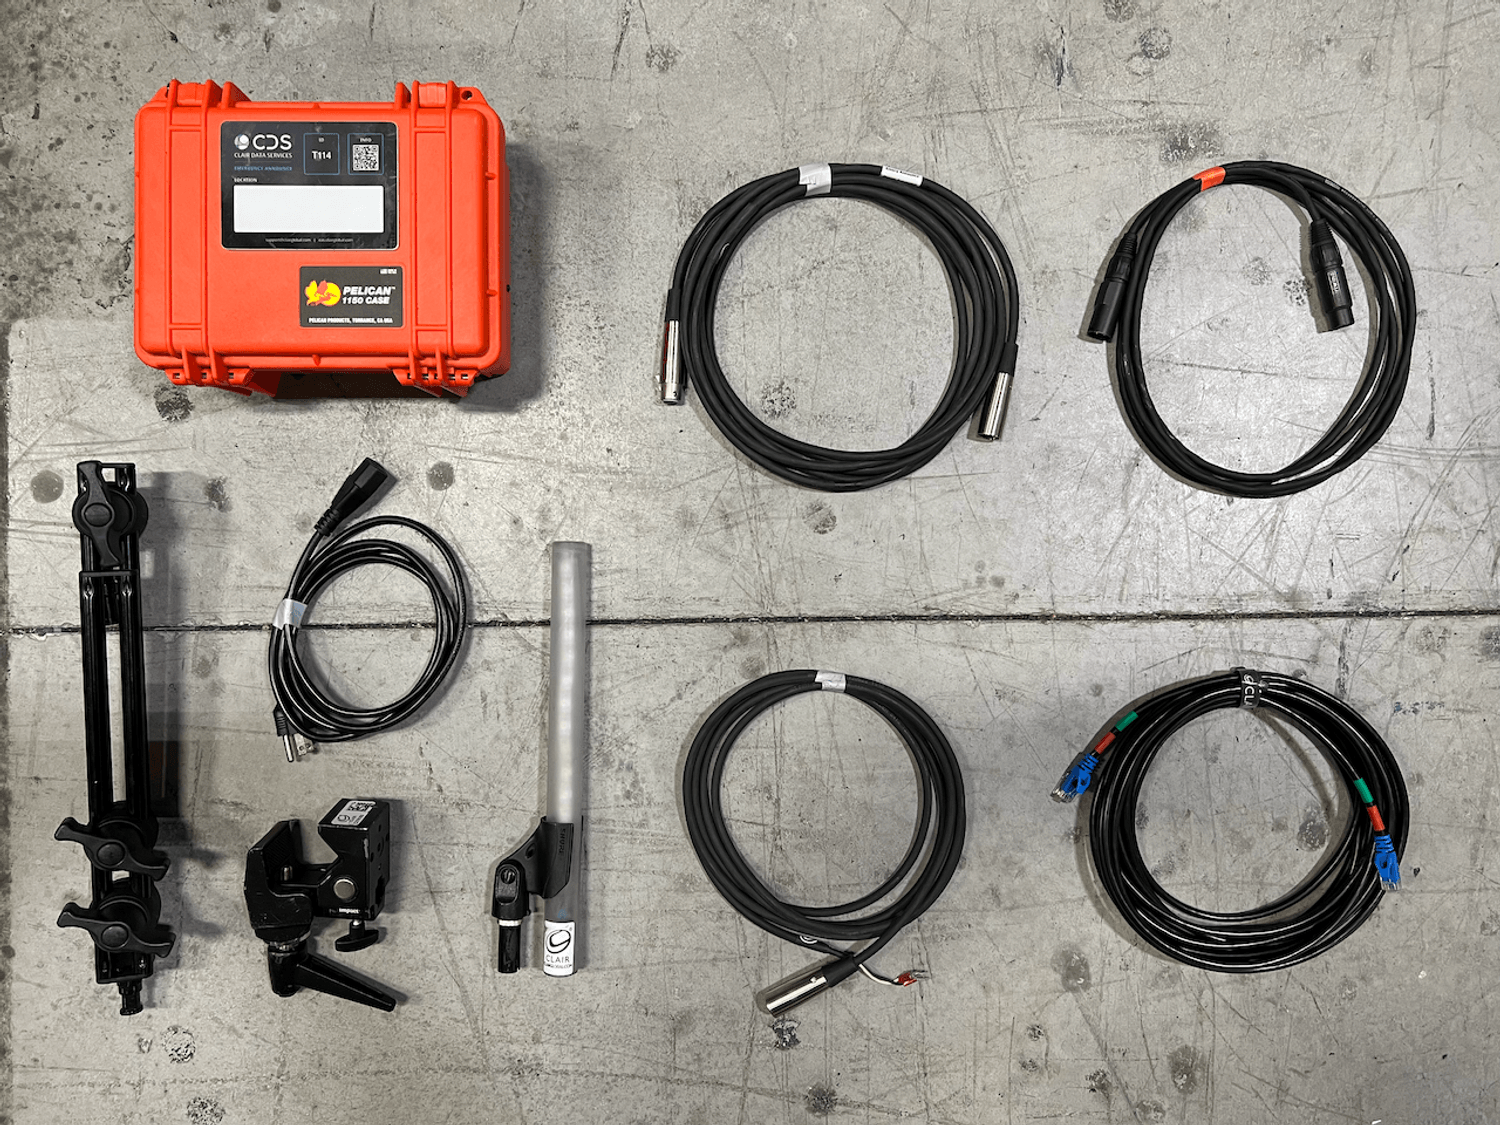
Grab the following items from the EAS Workbox:
- Trigger Box
- IEC Power Cable
- 3 pin XLR Cable
- 4 pin XLR Cable
- Ethernet Cable
- Contact Closure Cable
- EAS Light & Clip
- Light Mounting Arm & Clamp
Trigger Box Setup
- Using the included double articulated arm and super clamp, mount the light in a location that is visible to the FOH and System Engineers. Use the 4 pin XLR cable to connect the light to the trigger box.
- Using the 3 pin XLR cable, connect the audio output of the trigger box to the audio system.
- Connect the Contact Closure to the audio override device. Depending on the system design, the contact closure and audio signal may connect to an audio desk, console switch, or system processor.
- Connect the box to the network
- Connect the box to power.
Troubleshooting with QBOX
The EAS Workbox contains a Whirlwind Qbox for troubleshooting.
To use the Qbox:
- From the command unit: Arm and Activate the zone containing the trigger box
- Broadcast the included test announcement or tone
- Connect the Trigger Box to the QBox using the 3 pin XLR cable
- Set the front switches to Monitor: 2&3 and Split
- Set the top switches to +4 and OFF
- Turn the volume knob up until you hear test audio